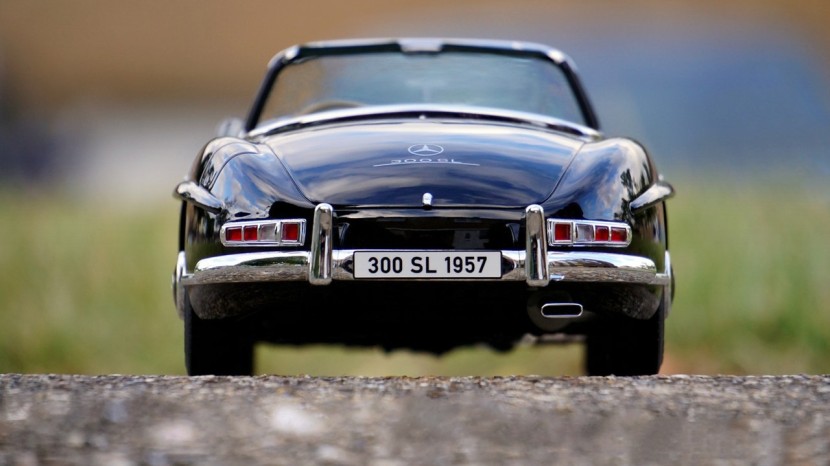
We get many calls to our business from people interested in capturing license plate numbers on their security camera system. While License Plate Recognition (LPR) is attainable with today's security cameras, it's certainly not at the level you see on TV. A typical TV crime show will start out with a camera shot that includes an entire street, then the operator will zero in a single license plate on the street and zoom in, sharpen the view a little and voila... the license plate is clear as day. In reality, a security camera that is set up for a wide angle street view will not capture the detail necessary to read a single license plate on the street. To be effective, a camera needs to be set up specifically to view license plates. And since they are reflective in the US, it is especially challenging at night to capture a good image. You will need special features in the camera to handle this issue.
Be aware that setting up the camera for car wash license plate recognition will then make it less useful for 'normal' day-to-day surveillance. In general, you will have one wide-angle camera for normal surveillance and a second camera specifically zoomed in to capture the license plate.
What Security Camera to use
There are reasonably priced security cameras on the market that can do LPR but you need to make sure you get the following features: high resolution (600 lines or better), infrared with adjustable LEDs, variable distance zoom and focus, and an On Screen Display (OSD) menu that lets you adjust the exposure, gain control, white balance and other features. Other special imaging features you might need are Wide Dynamic Range (WDR), Digital Noise Reduction (DNR), and Smart IR. Make sure you purchase a camera designed for outdoor use. If vandalism is a concern, look for vandal-resistant housing and cable management brackets that make it more difficult for the wiring to be cut. Also, look for a camera with an "installer video out" connection that will allow you plug in a test monitor at the installation site.
Positioning the Camera
Cameras are most effective when the vehicles are restricted to pass through a specific spot: for example, a traffic lane through a guard gate. If you have more than one lane of traffic that vehicles go through, you may need a separate camera setup for each lane. The camera angle cannot be greater than 45 degrees. For best results, try to mount the camera to be as straight on with a license plate as possible.
Adjusting the Camera Features
Below are instructions about the various camera features and how to adjust them for effective LPR. Make the initial adjustments at night. Once you have them adjusted to work effectively at night, then you'll want to review how they perform at dawn and dusk (times of light change), and possibly make further adjustments.
Using the Test Monitor
Anyone who has installed security cameras before is familiar with the hassle of standing up on a ladder and having to shout to their helper to give feedback as the camera settings are adjusted. We highly recommend purchasing a test monitor to make this process easier. Make sure your camera has an "installer video out" connection which will allow a security camera test monitor to be plugged right into the top of the camera. This will allow you to see the OSD menu as well as the effect of adjusting the settings right away without having to shout to your helper or get down off the ladder.
Security Camera Set-Up Details
Set the Zoom and Focus:
We mentioned above that you should purchase a varifocal camera. Your first step should be setting the focal distance (zoom) so that the rear of the vehicle is being captured in the view. We recommend that the view be wide enough to capture the rear of the vehicle (this might help identify the make, model, and color of the vehicle) but narrow enough to get a good image of the license plate. Then adjust the focus to get the clearest image at that distance. This is one setting that is best to make in the daytime initially (as opposed to the following settings which primarily adjust for nighttime viewing).
Setting the Infrared LEDs:
Depending on the distance from the camera to the license plate, you may need to adjust or turn off some of the infrared LEDs. Especially at night, high powered IRs may be too powerful for shorter range LPR.
Electronic Shutter:
The Electronic Shutter (ES) or exposure needs to be a shorter value than for typical applications. Start with 1/250 and adjust from there. You do not want this value set to "Auto".
Auto Gain Control:
Auto Gain Control (AGC) adjusts the brightness level of the image to keep it at a consistent level. This setting should usually be Off or Low.
White Balance:
White Balance (WB) helps to get the colors in your image as accurate as possible. Set this feature on.
Wide Dynamic Range:
Wide Dynamic Range (WDR) compensates for different light values in the image. This feature almost always improves the image so leave it on.
Digital Noise Reduction:
Digital Noise Reduction (DNR) or 3D DNR reduces fine static or 'snow' in the image. Leave this feature on.
Smart IR:
Similar to Wide Dynamic Range, this setting will help to balance the white light reflected from the infrared LEDs. This feature is important... make sure Smart IR is On.
Wrapping Things Up
Capturing a readable license plate number can be a challenge for your camera system. But with the right camera and proper setup it is achievable.
© 2025 HNGN, All rights reserved. Do not reproduce without permission.


